¶ Prerequisties
- Train Sim World PC Editor
- Understanding of the Rail Vehicle structure outlined here
¶ Folder Structure
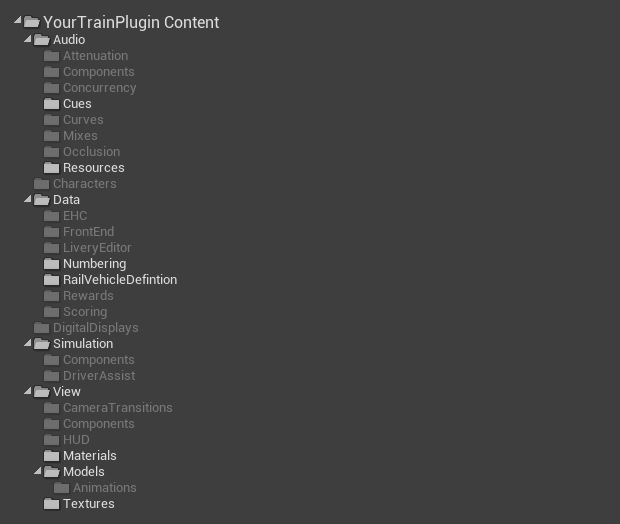
After creating your plugin there is a conventional folder structure you want to create for rail vehicles. Optional folders have been grayed out.
¶ Rail Vehicle View
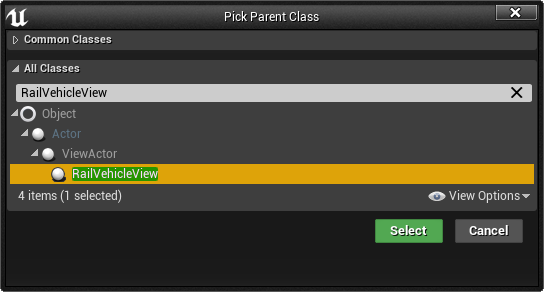
In the View folder right-click and create a new Blueprint Class. In the ‘Pick Parent Class’ window that pops up expand the ‘All Classes’ list and search for “RailVehicleView”, select, and create it. The resulting file should be prefixed with RVV_ followed by the same name you've given to your plugin itself.
There isn't anything more you can do with the RVV Blueprint now, first the Rail Vehicle Model needs to be set up.
¶ Rail Vehicle Model & Simulation Asset
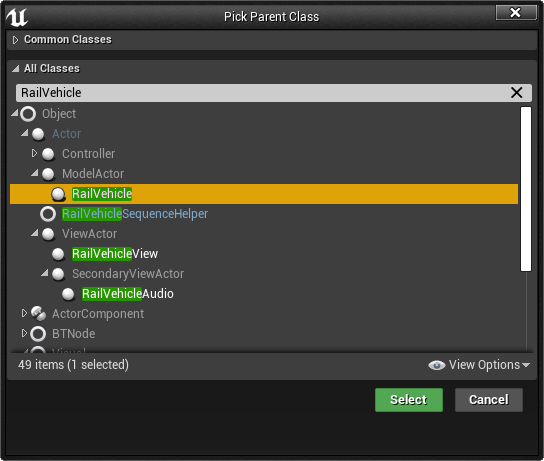
In the Simulation folder right-click and create a new Blueprint Class. In the ‘Pick Parent Class’ window that pops up expand the ‘All Classes’ list and search for “RailVehicle”, select, and create it. The resulting file should be prefixed with RVM_ followed by the same name you've given to your plugin itself.
Before opening up the RVM you can also create the Simulation Asset by right-clicking an empty area of the Simulation folder → Miscellaneous → Simulation Asset. The resulting file should be prefixed with SA_ followed by the same name you've given to your plugin itself.
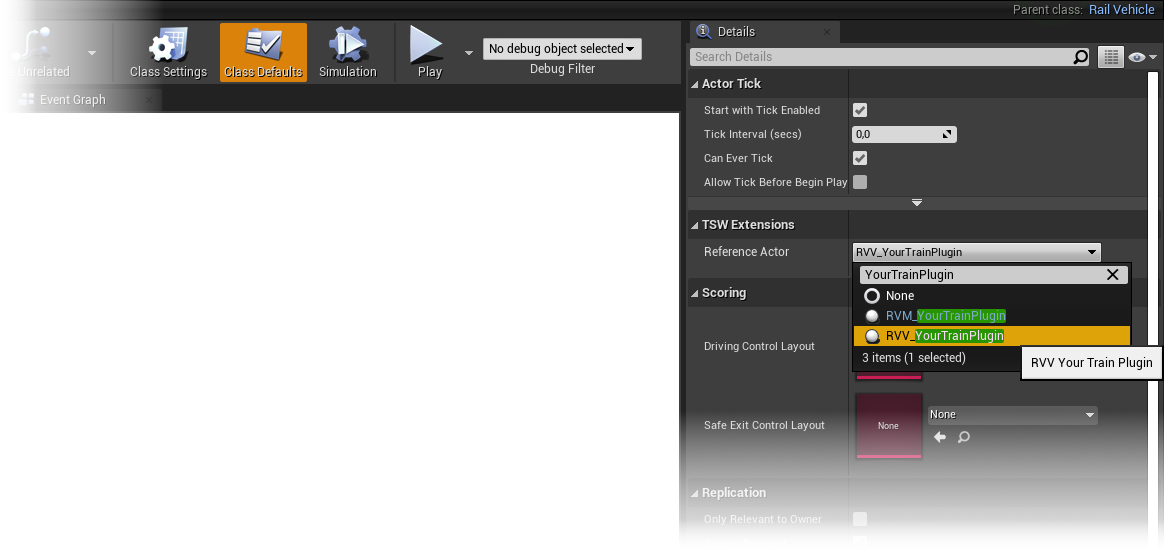
In the RVM itself make sure that Class Default is selected in the tool bar and set the Reference Actor under TSW Extensions to your RVV like this:
You also want to do the same for the RVV. Open up the RVV, but set the Reference Actor to your RVM now instead of the RVV. You can save and close the RVV now.
In the RVM again press the green Add Component button in the top-left and search for Simulation and add it. Leave the component name at the default “Simulation”. Next up go into the Detail panel of the Simulation component and set the Simulation Graph variable under TS2 Simulation Graph to your Simulation Asset.

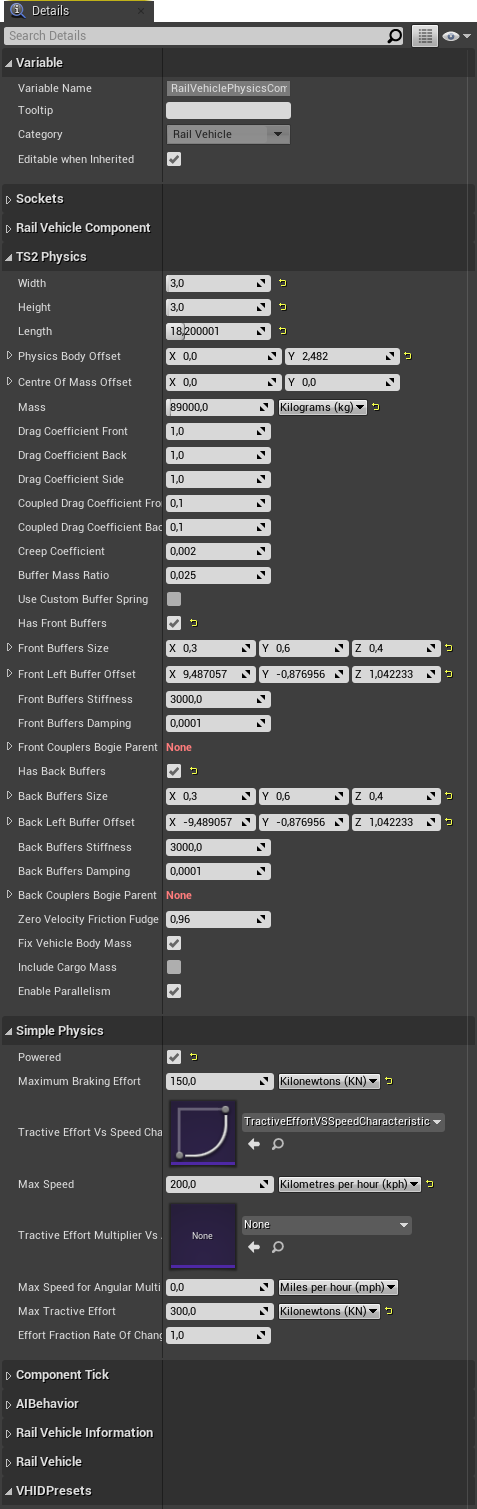
You should also select the inherited RailVehiclePhysicsComponent in your Components window and set up the TS2 Physics section and, in case you're building a powered vehicle, also the Simple Physics section. The unit for Width, Height, Length, Physics Body Offset and Centre Of Mass Offset is meters. The Offsets are on the X and Z axis, as a Y axis offset wouldn't make any sense.
¶ Rail Vehicle Definition
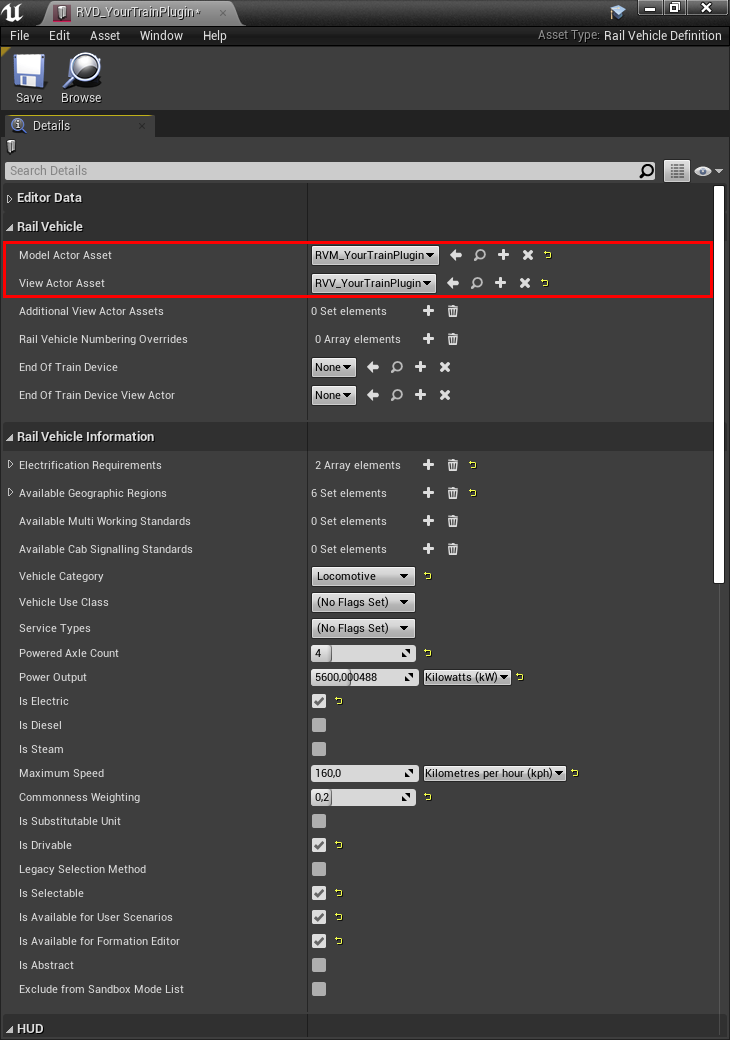
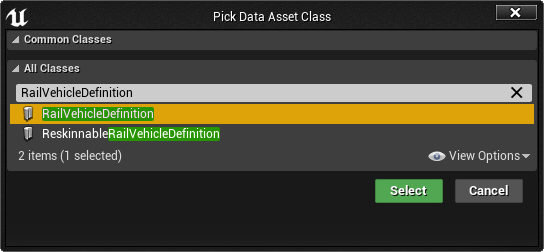
In the /Data/RailVehicleDefinition/ folder create a RailVehicleDefinition Data Asset by right-clicking and going to Miscellaneous → Data Asset and searching for “RailVehicleDefinition” in the Pick Data Asset Class window that opens. The resulting file should be prefixed with RVD_ followed by the same name you've given to your plugin itself.
You then can open the RVD and first of all set the Model Actor Asset and View Actor Asset to your RVM and RVV respectifly. Further down you can set up all sorts of metadata, these should be pretty self-explanatory.