¶ Prerequisites
- Train Sim World PC Editor
- A new empty plugin
¶ Adding Additional Scenery to a Route
The first step in adding additional scenery to a route is to create a new plugin which will hold all the additional tiles and an asset known as an overlay definition that it used to define what route the overlay should be used on.
Creating a Scenery Overlay Definition asset
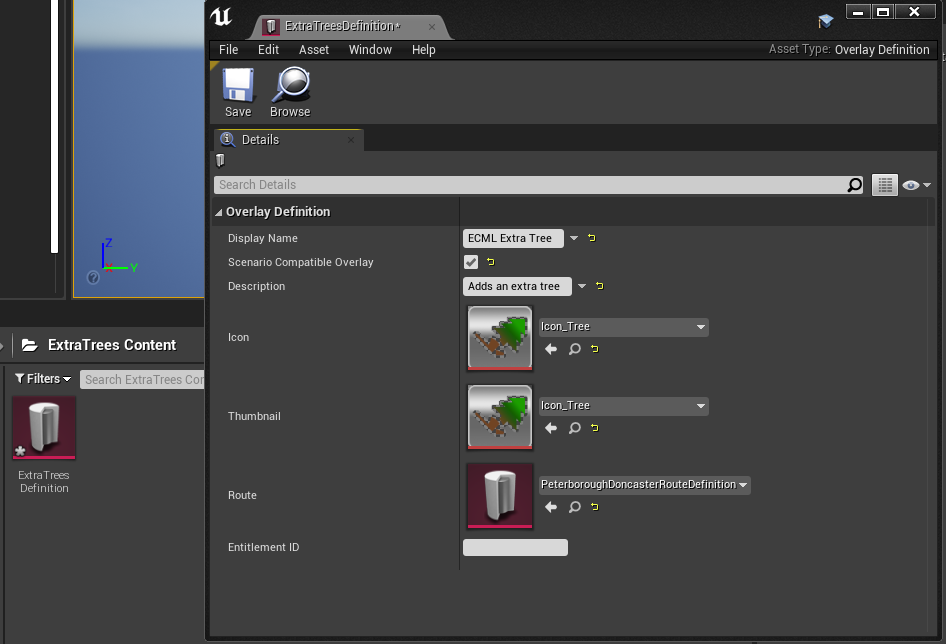
Navigate to the content folder of the plugin that will hold the addition scenery tiles, then right click on the content browser, and select ‘Miscellaneous’→'Data Asset'. A pop-up will appear asking what type of Data Asset to use, search for and select ‘Overlay Definition’

Next name and open the overlay definition asset, the values in this window can be filled out with the key one being the ‘Route’ which should link to the ‘Route Definition’ of the route this overlay adds additional scenery to.
Adding Additional Scenery
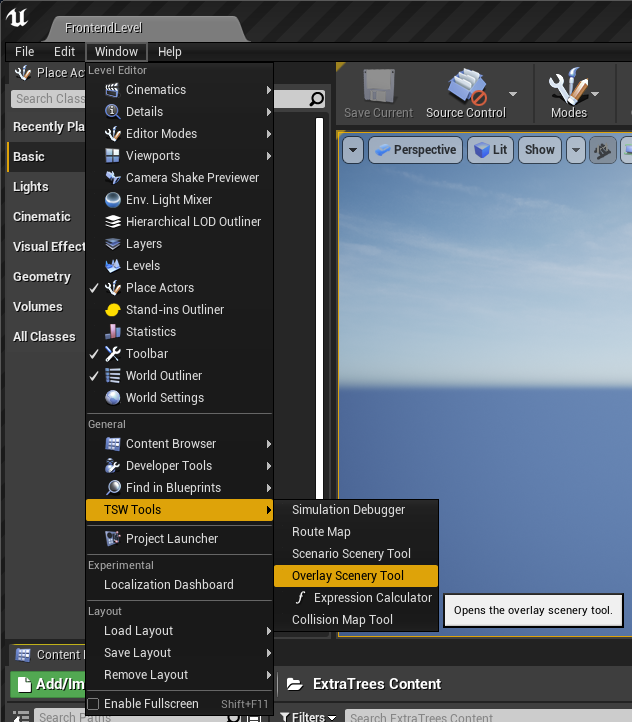
After creating an overlay definition, the next step is to begin placing scenery. Select 'Window'→'TSW Tools'→'Overlay Scenery Tool'.
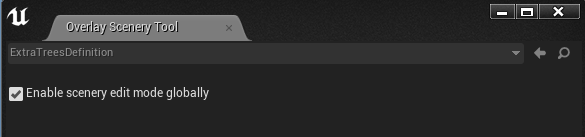
A new window should then appear, click on the box containing ‘None’ and select the overlay definition just created. If the route within the overlay definition is not already loaded a button will appear to ‘Load the correct level’, press this and the route should load into the viewport.
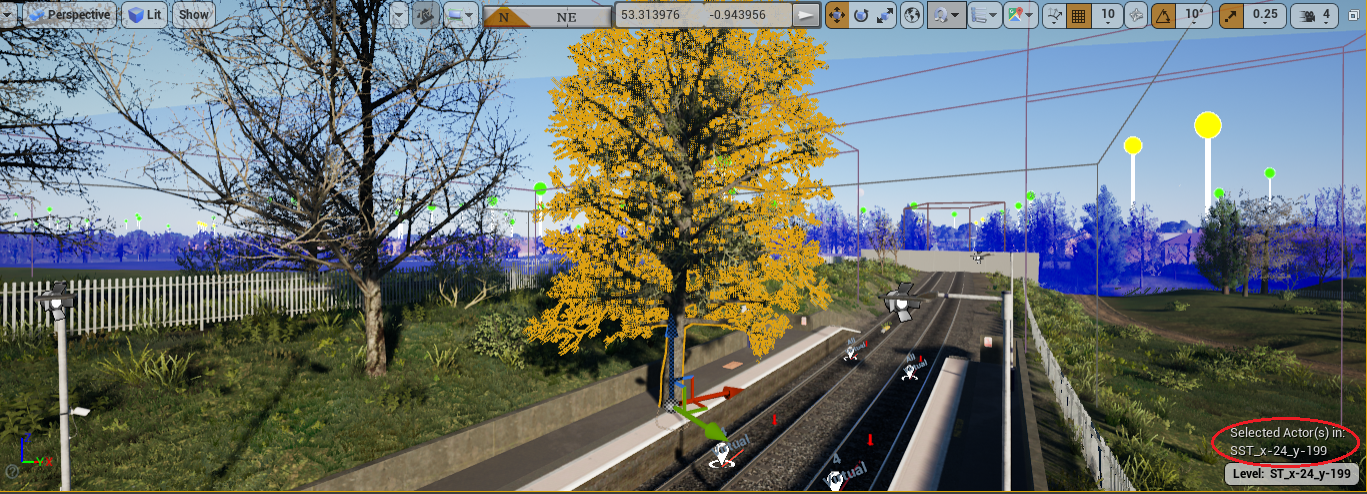
After the editor has finished loading in the route tick the box labelled, ‘Enable scenery edit mode globally’. This will mean that any new scenery added will be added to tiles specifically for the overlay.
Now place something in the world!
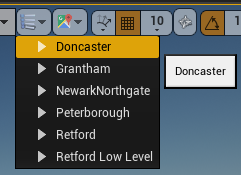
If you want to jump to a certain place along the route this place marker drop-down can be useful.
After placing an item, in the bottom right of the viewport it should show the actor as being in a tile beginning with ‘SST’. This means it has been added to an overlay tile and not one from the original route.
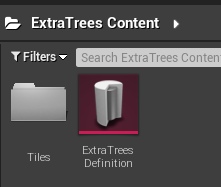
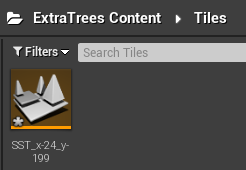
The plugin's content folder should now also have a ‘Tiles’ folder containing all the tiles the overlay adds to the route.
Finally save everything and test it, maybe by playing-in-editor.